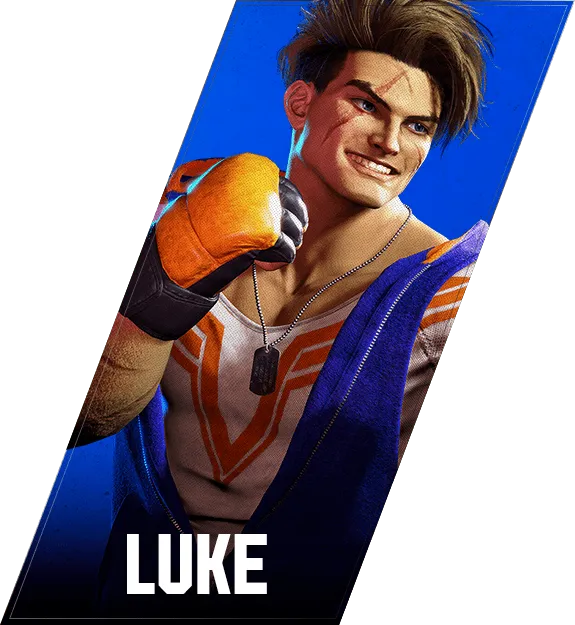






A full powered, chargeable punch. Increase the damage output by holding down the button at the beginning. Release the button when you see a flash to further boost its properties.
派生・强度差异
| 技能 | 发生 | 命中 | 防御 | 伤害 |
|---|---|---|---|---|
| H Flash Knuckle | 22 | D | -4 | 1000 |
| L Flash Knuckle | 13 | D | -12 | 700 |
| M Flash Knuckle | 19 | 3 | -8 | 900 |
| OD Flash Knuckle | 15 | - | -22 | 400 |
| H Flash Knuckle(Charged) | 33 | D | 4 | 1300 |
| H Flash Knuckle(Perfect) | 33 | D | 4 | 1600 |
| L Flash Knuckle(Charged) | 26 | D | -8 | 800 |
| L Flash Knuckle(Perfect) | 26 | D | -8 | 900 |
| M Flash Knuckle(Charged) | 29 | D | -3 | 1000 |
| M Flash Knuckle(Perfect) | 29 | D | -3 | 1100 |



How to Use
- 214HP (Hold): +4 on block. In the corner you're inside throw range.
- Raw (no charge): -4, light-jab punish.
- Target Combo "LP→MP→HP" cancel → 214HP (Hold) is the signature "rip-off" string.
How to Counter
The most important counter. The mental model for fully defending Luke's LP→MP→HP cancel into Heavy Flash Knuckle (Hold).
Basic: see it, Drive Impact
- See the 214HP animation, throw DI.
- HP cancel → Heavy Flash Knuckle is a true block string, so DI rarely whiffs.
- Heavy Flash Knuckle (Hold) is 33F startup; the 22F-33F gap is wide enough to slot DI in.
Advanced: fuzzy back-jump when Luke has SA2
Luke's answers to your DI bait are 236PP and Heavy Flash Knuckle → SA2 (236236K). The SA2 cancel especially does heavy damage. When Luke has SA2 stocked, drop the DI bait and use a fuzzy back-jump instead.
- Use the 214HP startup gap: 23F (raw) vs 33F (Hold).
- Inputting back-jump in the 23F-33F window blocks the raw version while jumping over the Hold version for a confirmed punish (timing-dependent).
If the fuzzy back-jump is too hard, default to pressing parry — fish for just-parry while buffering Drive Reversal. If you can't Drive Reversal, you end up at +4 for Luke inside throw range (shimmy possible):
Luke can read the fuzzy back-jump and slightly delay the Heavy Flash Knuckle to catch you, in which case you switch back to DI bait — that's the yomi.
A perfect-timing fuzzy back-jump covers everything, but in match conditions it's hard — earliest back-jump is fine. Trading 1000 damage from 214HP hit for 3000 from a back-jump punish is still a clear win.
Burnout lockdown
- 2LP → 2MP → 214HP is the standard burnout string:
- After blocking 214HP the situation is around ±0F — don't fire SA there, parry overrides it
- MP → 214HP has a 1F gap, so that is where SA connects: